Makeup can look different in a mirror than it does in a photograph. Camera lighting may soften some details, emphasize shine, or make foundation appear lighter than expected. The best approach to learning how to apply makeup for photos is to use balanced coverage, blend every product carefully, and check the finished look under lighting similar to the setting where the pictures will be taken.
For natural-looking, camera-ready makeup, start with well-prepared skin, choose a foundation that matches your complexion, and build color gradually. Softly defined eyes, blended blush, and a comfortable lip color can help create a polished result without making your makeup look heavy.
1. Prepare Your Skin Before Applying Makeup
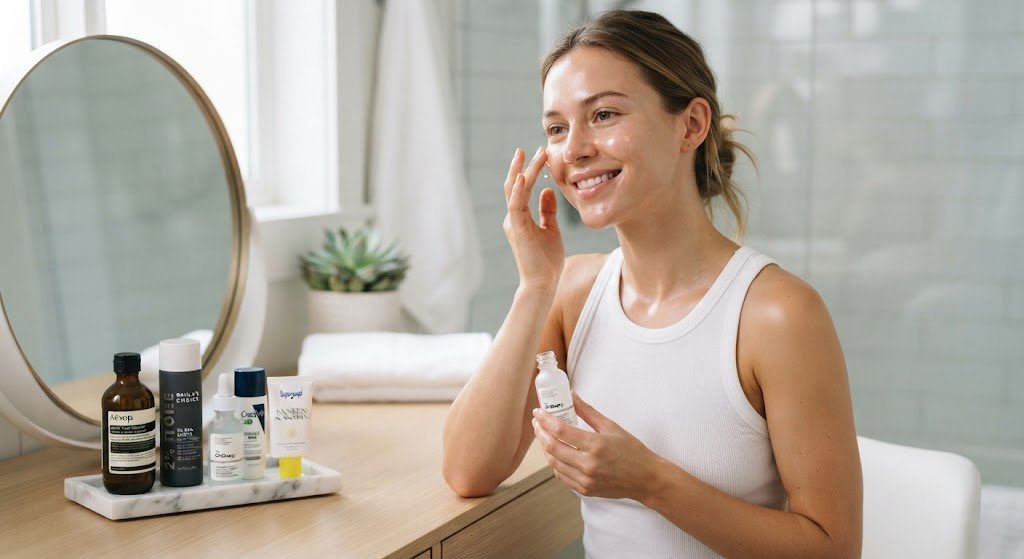
Good photo makeup starts before you open your foundation. Dry patches, excess skincare product, or an oily surface can affect how makeup sits on the skin and how it appears under bright lighting.
Begin by cleansing your face gently. Apply a moisturizer suited to your skin type and give it a few minutes to settle before moving on to makeup.
A simple preparation routine:
- Cleanse your face without scrubbing or over-drying it.
- Apply a lightweight moisturizer.
- Use a broad-spectrum sunscreen during the day.
- Allow skincare products to absorb before applying foundation.
- Apply a small amount of primer if you want help with makeup texture or wear.
Choose a primer based on what you want to address. A hydrating formula can work well when your skin feels dry, while a smoothing primer may help makeup sit more evenly around areas with visible texture. You do not need to use several primers at once.
2. Choose a Foundation That Looks Natural on Camera
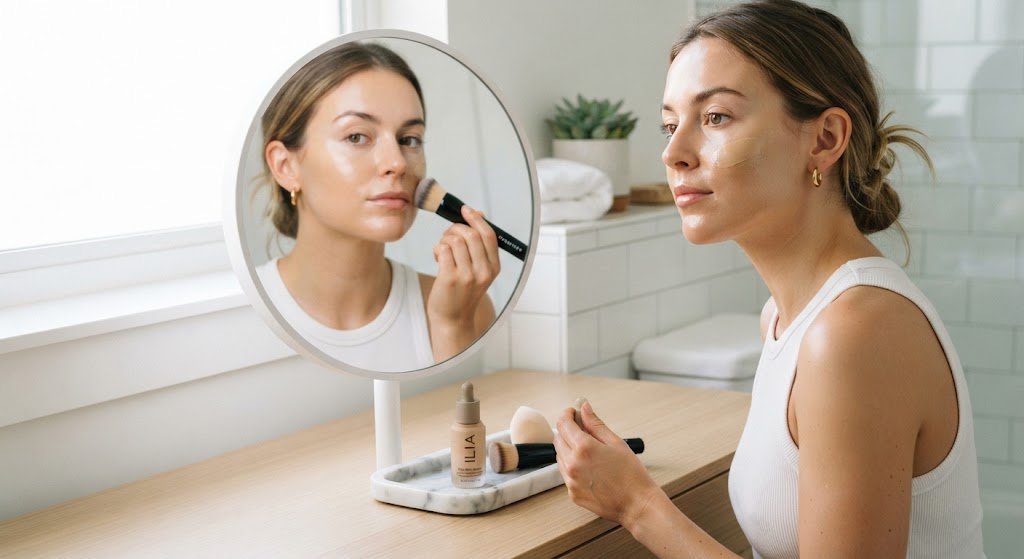
Foundation has a major effect on how makeup appears in pictures. A shade that looks correct under indoor lighting may appear different in daylight or with a camera flash.
For most everyday photos, a lightweight or medium-coverage foundation with a natural finish is a practical starting point. It can even out the complexion while allowing natural skin texture to remain visible.
How to apply foundation for photos:
- Select a shade that blends naturally with your face and neck.
- Apply a small amount to the center of your face.
- Blend outward with a damp makeup sponge or foundation brush.
- Add a little more coverage only where you want it.
- Check your face near the jawline and hairline for visible edges.
Avoid choosing a foundation simply because it looks lighter or brighter. A mismatched shade can become more noticeable in photographs, especially around the jaw and neck.
If you are preparing for professional headshots, test your foundation under the actual lighting setup when possible. The best makeup for photoshoots is the makeup that looks balanced in the finished images, how to apply makeup for photos not necessarily the one that appears most polished in a bathroom mirror.
3. Use Concealer Without Creating Heavy Layers
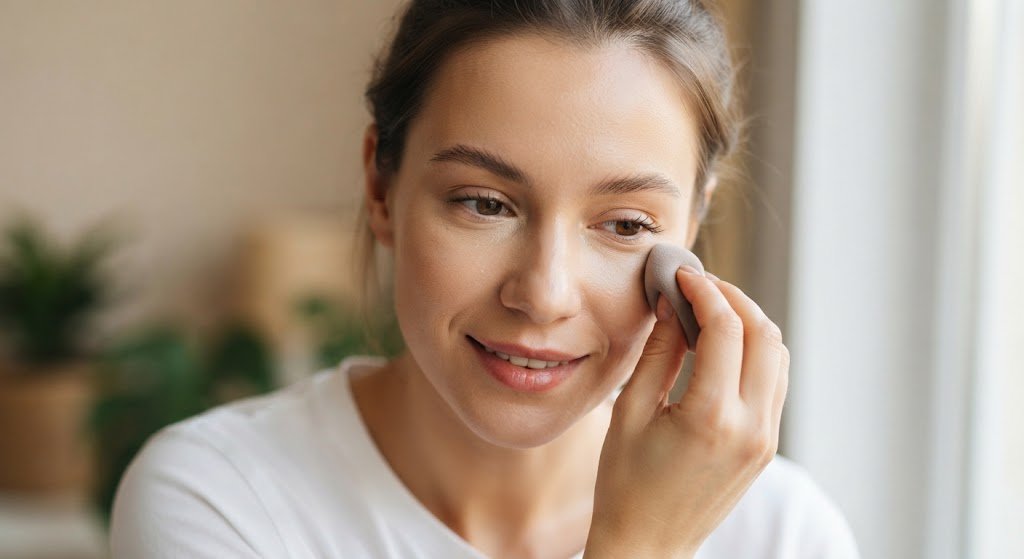
Concealer can brighten selected areas and add coverage where foundation alone is not enough. However, applying too much product may create visible creasing or texture in close-up pictures.
Choose a concealer that complements your foundation. If you want a brighter under-eye effect, use a shade only slightly lighter rather than choosing an extremely pale color.
Application tips:
- Apply a small amount beneath the eyes.
- Blend gently instead of dragging the product across the skin.
- Use a fine layer around the sides of the nose if needed.
- Cover individual spots with a small brush.
- Set only areas where creasing or movement is a concern.
A thin layer of concealer usually gives you more control than applying several layers and trying to blend them together afterward.
4. Add Blush and Bronzer for Balanced Definition
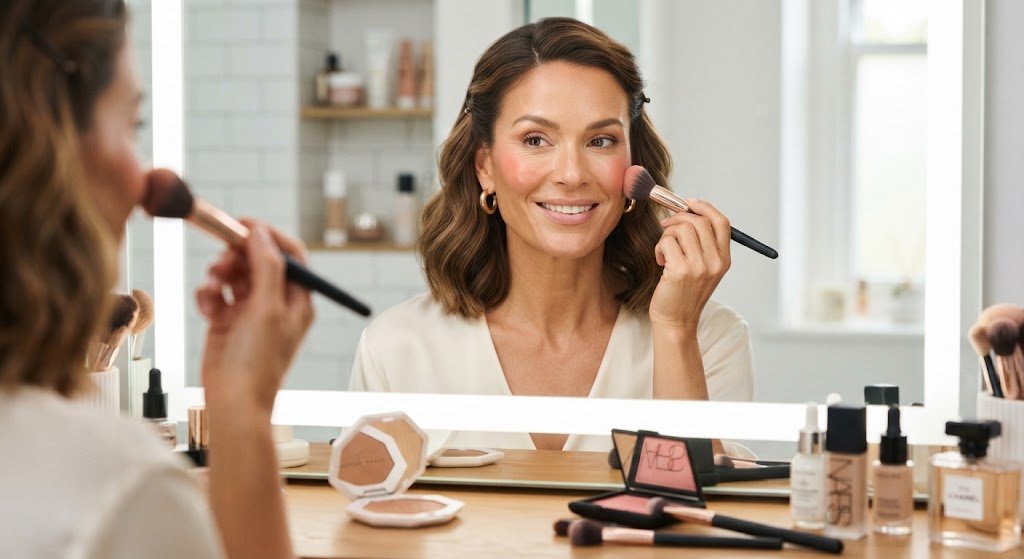
Camera lighting can reduce some of the natural dimension of your face. Blush and bronzer help bring warmth and definition back into the overall makeup.
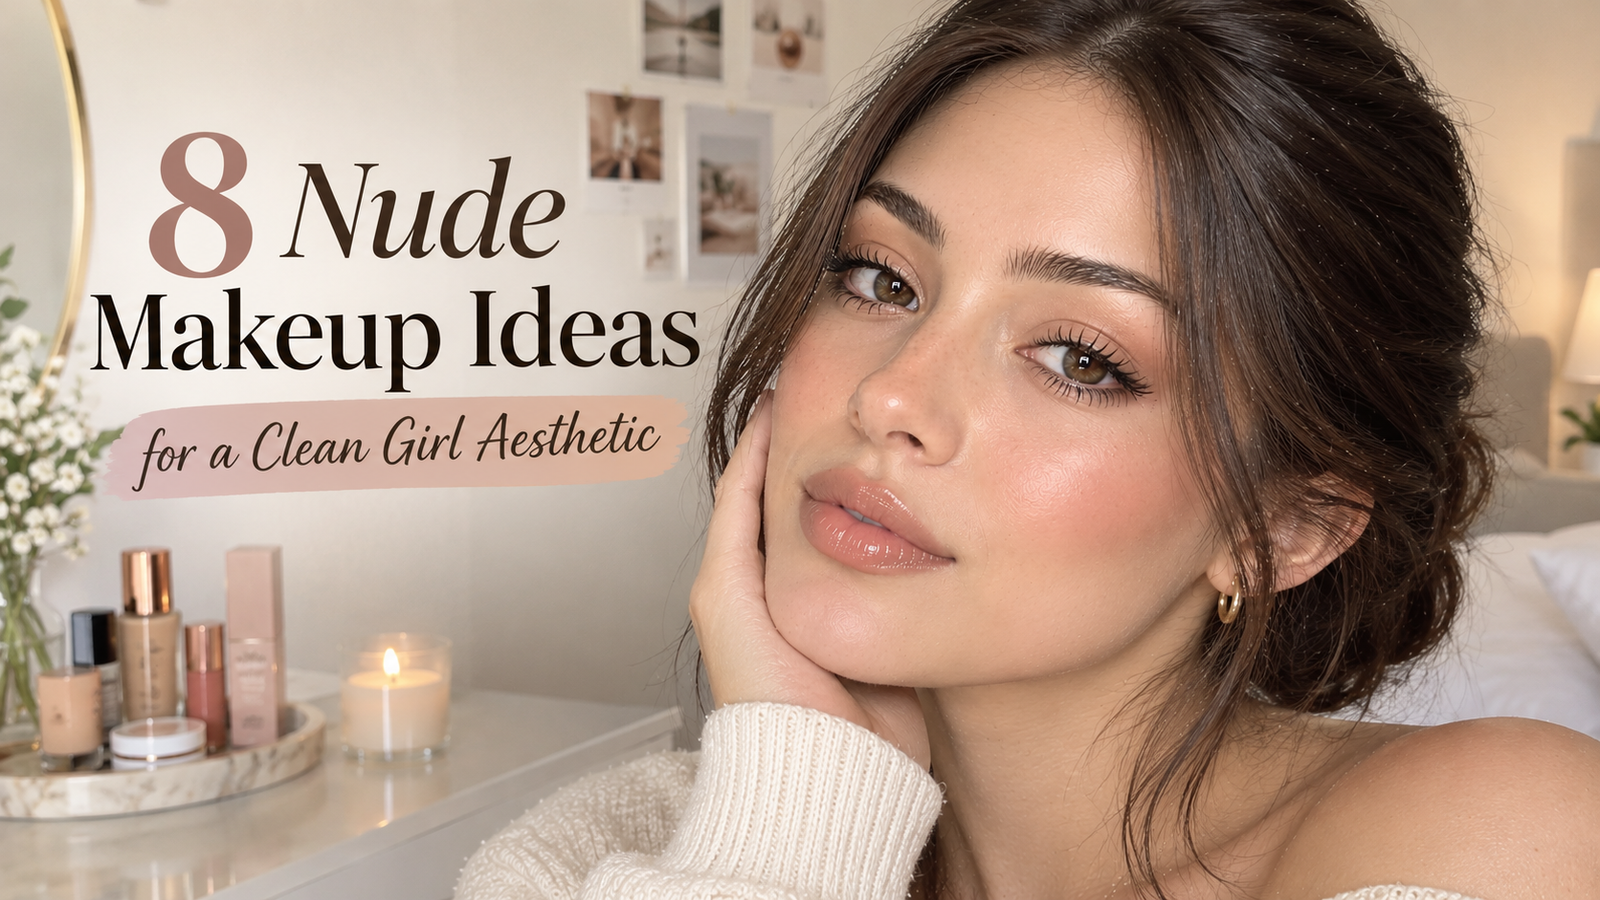
For a natural makeup look for photos, choose a blush shade that complements your complexion. Soft rose, peach, and muted berry are useful options, how to apply makeup for photos depending on the look you want.
Try this simple combination:
- Apply cream or powder blush to the cheeks and blend the edges.
- Use a small amount of bronzer around the outer forehead and cheek area if desired.
- Blend carefully so there are no obvious lines.
- Add a subtle highlighter only where you want a little extra light.
Avoid applying too much shimmer across the face. Strong lighting can make reflective products appear more noticeable than they do in person. A soft satin finish often photographs more evenly than heavy glitter.
5. Define Your Eyes With Neutral Shades
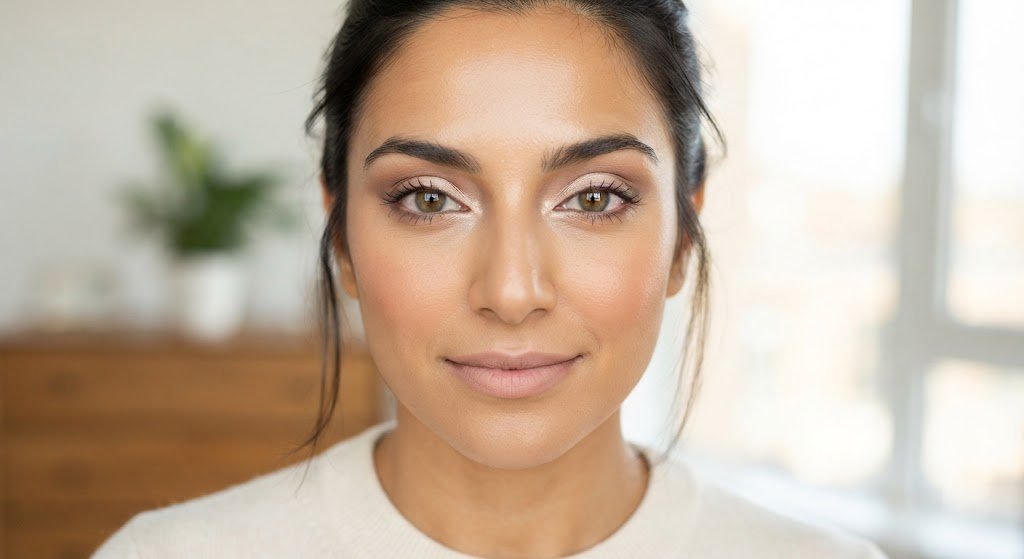
Eye makeup helps frame your features in photographs. You do not need a dramatic eyeshadow look for every picture; a few neutral shades can provide enough definition for everyday portraits and professional headshots.
A neutral eyeshadow palette with beige, taupe, and soft brown shades is useful for creating several camera-ready looks.
For simple eye makeup:
- Apply a neutral base shade across the eyelid.
- Blend a soft brown shade into the crease.
- Add a thin line of brown or black eyeliner close to the upper lashes.
- Curl your lashes if you like.
- Apply mascara, separating the lashes as you go.
For a more defined evening look, how to apply makeup for photos deepen the outer corners with a slightly darker shade. Keep the edges blended so the makeup looks smooth in close-up photographs.
If you wear false lashes, choose a style that feels comfortable and suits the setting. Very dense lashes can create a stronger effect than intended in natural-light portraits.
6. Shape Your Brows Without Making Them Too Dark
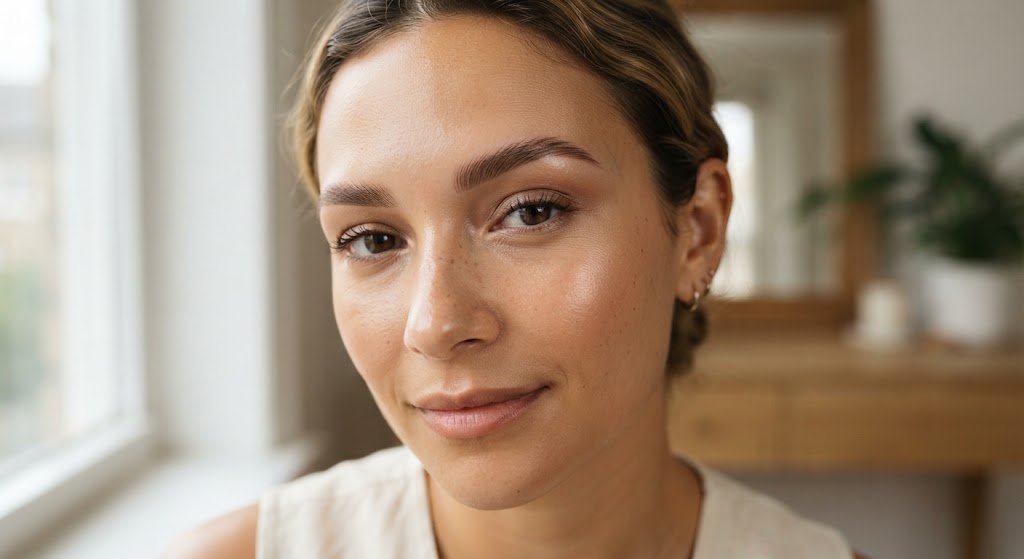
Brows help frame the eyes, but overly dark or sharply drawn brows can become distracting in photographs. A softly filled shape usually works well for natural and professional makeup.
Use a brow pencil or powder close to your natural brow color. Fill sparse areas with short, light strokes rather than drawing one solid line.
Finish by brushing the hairs into place with a clear or tinted brow gel. Check both brows from a little distance to make sure the color and shape look balanced.
For close-up pictures, pay attention to the front of the brows. A softly blended beginning generally looks more natural than a dark, square-shaped outline.
7. Pick a Lip Color That Complements the Makeup
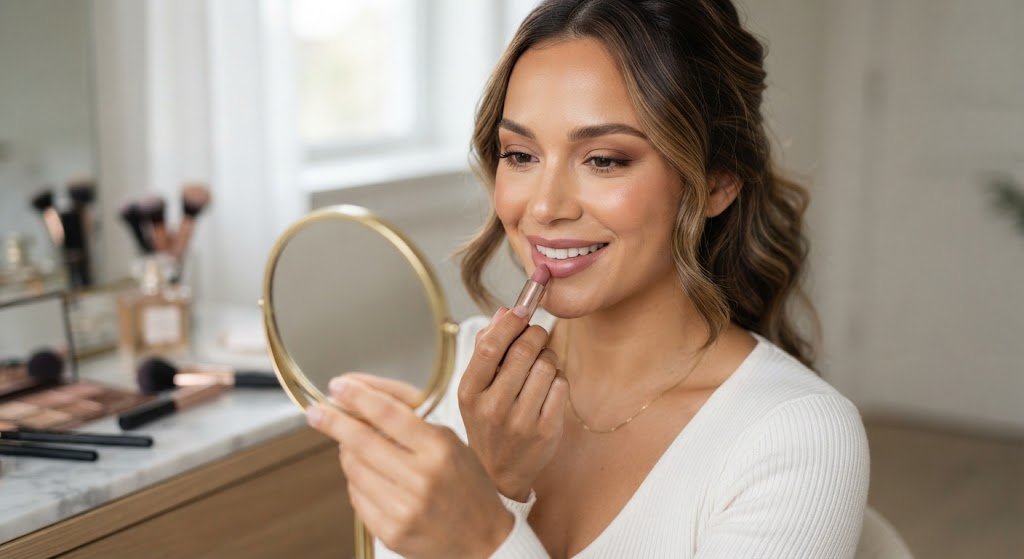
Lip color can change the overall mood of a photograph. Nude pink, rose, peach, mauve, and classic red are all options, depending on your outfit, the lighting, and the occasion.
For natural makeup for photos, a satin lipstick or tinted lip product can provide color without looking too heavy. If you prefer a more defined finish, how to apply makeup for photos use a lip liner in a similar shade.
Useful lip combinations include:
- Everyday portraits: Nude pink lipstick with a matching soft liner.
- Professional headshots: Muted rose or neutral pink with a satin finish.
- Evening photos: Berry, classic red, or deeper rose lipstick.
- Casual outdoor pictures: Sheer peach or tinted lip balm.
Before taking pictures, check that lipstick has not collected around the edges or transferred onto your teeth. Blotting gently with a tissue can also help remove excess product.
8. Set Your Makeup for Longer Wear
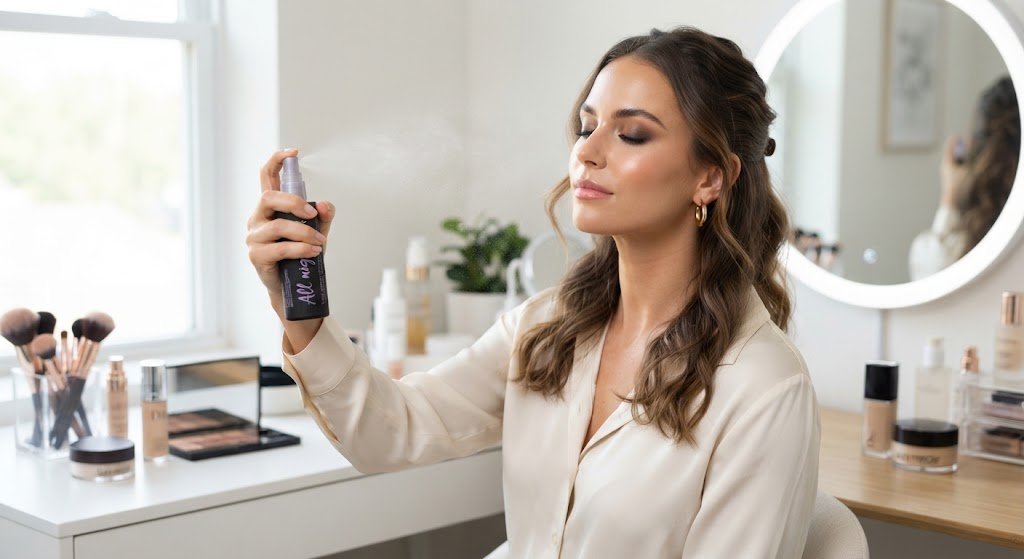
Long-lasting makeup for photos should remain comfortable and look even throughout the session. You do not need to cover your entire face with heavy powder to keep products in place.
Use a small amount of translucent or tinted setting powder where makeup tends to move or become shiny. Areas around the nose, forehead, and chin may need more attention than the cheeks.
A setting spray can help finish the makeup and reduce a powdery appearance. Follow the product instructions and allow it to dry before taking pictures.
Keep a small touch-up kit nearby if you have a long photography session. A few useful items include:
- Blotting papers or a clean tissue.
- Your lipstick or lip gloss.
- A small powder compact.
- A cotton swab for correcting small makeup smudges.
Blot excess oil rather than repeatedly adding powder. Too many layers can make the makeup look less natural in close-up images.
9. How to Avoid Flashback in Photos
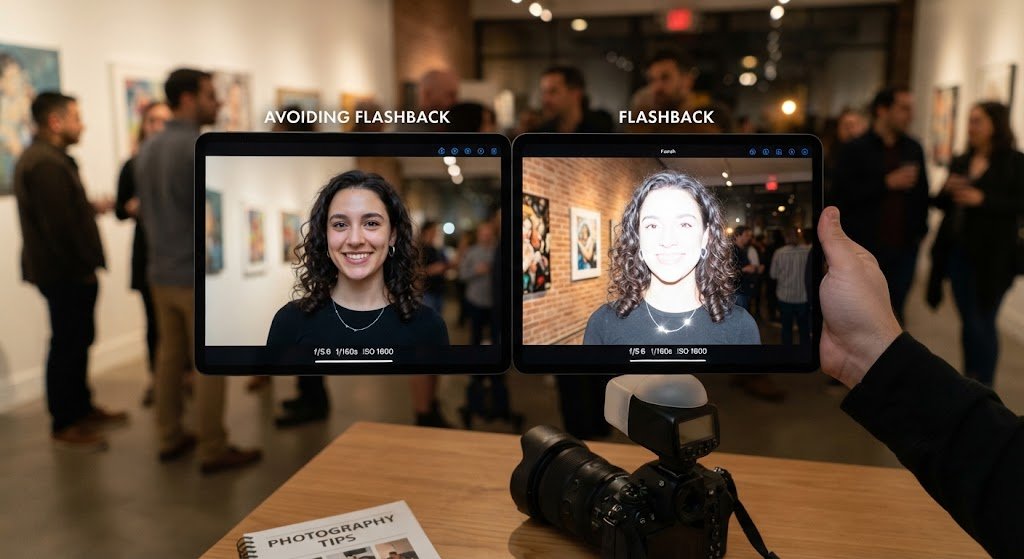
Flashback is the pale or whitish cast that can sometimes appear in flash photography. It may be associated with certain reflective ingredients, excess powder, or products that leave a visible cast on the skin.
The solution is not to skip important skincare. Instead, choose products that work well for your complexion and test them under the lighting you expect to use.
Ways to reduce the chance of flashback:
- Check that your foundation matches your skin tone.
- Avoid applying excessive amounts of setting powder.
- Blend powder carefully around the nose, forehead, and under-eye area.
- Allow sunscreen to settle before applying makeup.
- Test your complete makeup routine with the same camera and flash setup when possible.
Some sunscreens and complexion products can create a noticeable cast under certain lighting conditions. If flash photography is planned, how to apply makeup for photos test your sunscreen and makeup combination beforehand rather than changing sun protection at the last minute.
A quick test photograph can reveal problems that are difficult to spot in a mirror.
10. Adjust Your Makeup to the Photography Setting
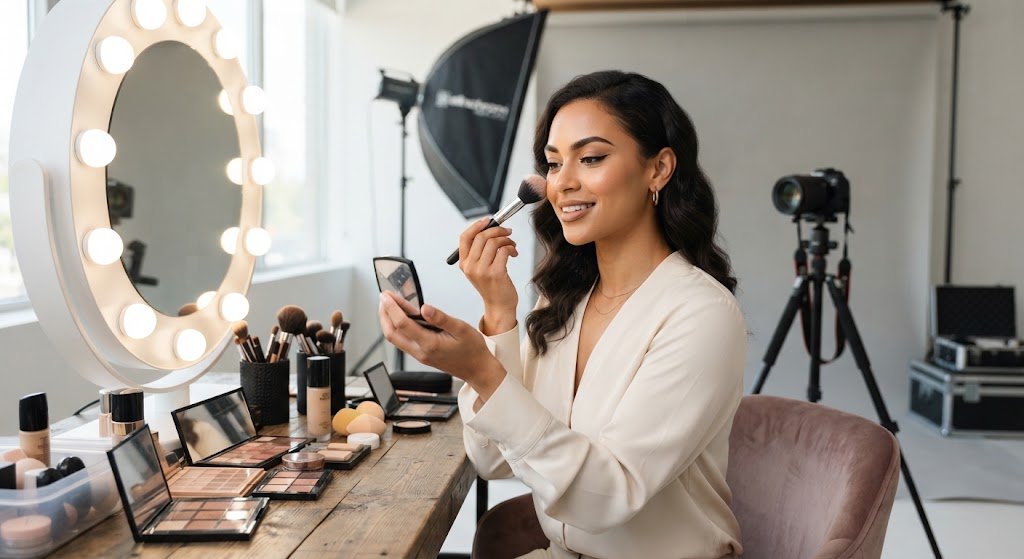
The right makeup for photography depends partly on where and how the pictures will be taken. Natural daylight, studio lighting, and direct flash can produce different results.
Natural daylight
Daylight often shows makeup details clearly, so keep your foundation blended and your blush softly defined. A natural lip color and neutral eyeshadow work well for casual portraits.
Studio photography
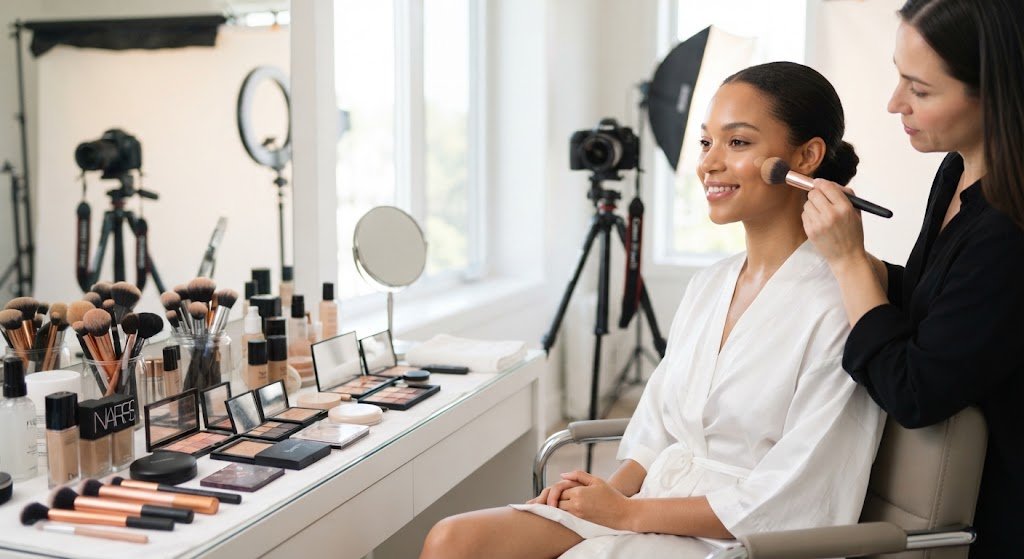
Studio lights may soften some details, depending on their direction and intensity. Slightly more definition around the eyes and cheeks can help maintain balance, but the amount of makeup should still suit the final image.
Direct flash photography
Flash can highlight shine and reveal uneven blending. Check your foundation, powder, and sunscreen combination with a test photo before the session.
Professional headshots
For work-related portraits, a balanced look is usually a practical choice. Use a natural foundation finish, softly defined brows, neutral eyeshadow, and a lip color that complements your outfit.
Avoid making major changes to your usual makeup routine just before the session. Familiar products and a comfortable application process can make preparation easier.
11. Common Makeup Mistakes That Show Up in Pictures
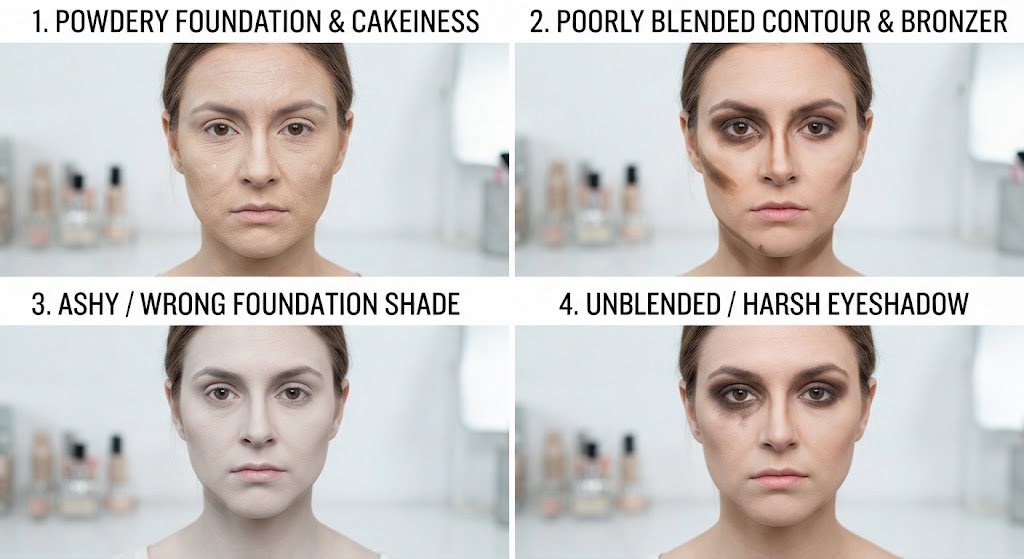
A few small application problems can become more visible in photographs. Checking your makeup before the session helps you catch them early.
- Foundation that does not match: Check the shade near your jawline in natural light.
- Unblended blush or bronzer: Use a clean brush or sponge to soften visible edges.
- Too much powder: Apply a light layer only where needed.
- Uneven eyeliner: Look straight ahead and check both eyes before taking pictures.
- Lipstick outside the lip line: Use a cotton swab to clean the edges.
- Excessive highlighter: Blend reflective products carefully, especially on the forehead and nose.
- Visible makeup lines: Check the hairline, jawline, and sides of the nose.
Take a few test pictures from different angles. A mirror shows how makeup looks from one perspective, how to apply makeup for photos while photographs can reveal details you might otherwise miss.
Conclusion
Before your photography session, look at your makeup in the lighting where the pictures will be taken. Check your foundation around the jawline, blend any visible blush or bronzer edges, and make sure your lipstick and eyeliner are neat.
The most useful photo-ready makeup tips are simple: apply products in light layers, choose shades that suit your complexion, and take a test picture before the session begins. A few careful adjustments can help your makeup look balanced and natural in the final photographs.
FAQ’s
How should I apply makeup for pictures?
Start with moisturizer and sunscreen, then apply a well-matched foundation in thin layers. Add concealer where needed, softly define the eyes and brows, apply blush, and finish with a suitable lip color. Check the makeup with a test photograph before the session.
What type of foundation is best for photos?
A foundation with a natural or soft-matte finish is a useful starting point for many photography settings. Choose a shade that matches your complexion and test how it looks under the planned lighting.
Should makeup be heavier for photography?
Not always. Some studio setups may require slightly more definition because of the lighting, but heavy makeup is not necessary for every photograph. The right amount depends on the camera, lighting, distance, and style of the pictures.
How do I prevent my face from looking shiny in photos?
Use a suitable moisturizer, apply foundation in thin layers, and lightly powder areas where shine develops. Blotting papers can help during longer sessions without adding more makeup.
How can I avoid flashback in pictures?
Use complexion products that do not leave a visible cast on your skin, avoid excessive powder, and test your complete makeup routine with the camera flash before the session. Keep your sunscreen in your routine and allow it to settle before applying makeup.
What makeup works best for professional headshots?
A natural-looking base, softly defined brows, neutral eyeshadow, light blush, and a comfortable lip color are practical choices. Keep the finish balanced so your makeup complements rather than distracts from the portrait.
Can I wear natural makeup for a photoshoot?
Yes. Natural makeup can work well for casual portraits, outdoor photography, and professional headshots. Use thin complexion layers, softly defined eyes, and a lip shade that suits the setting.